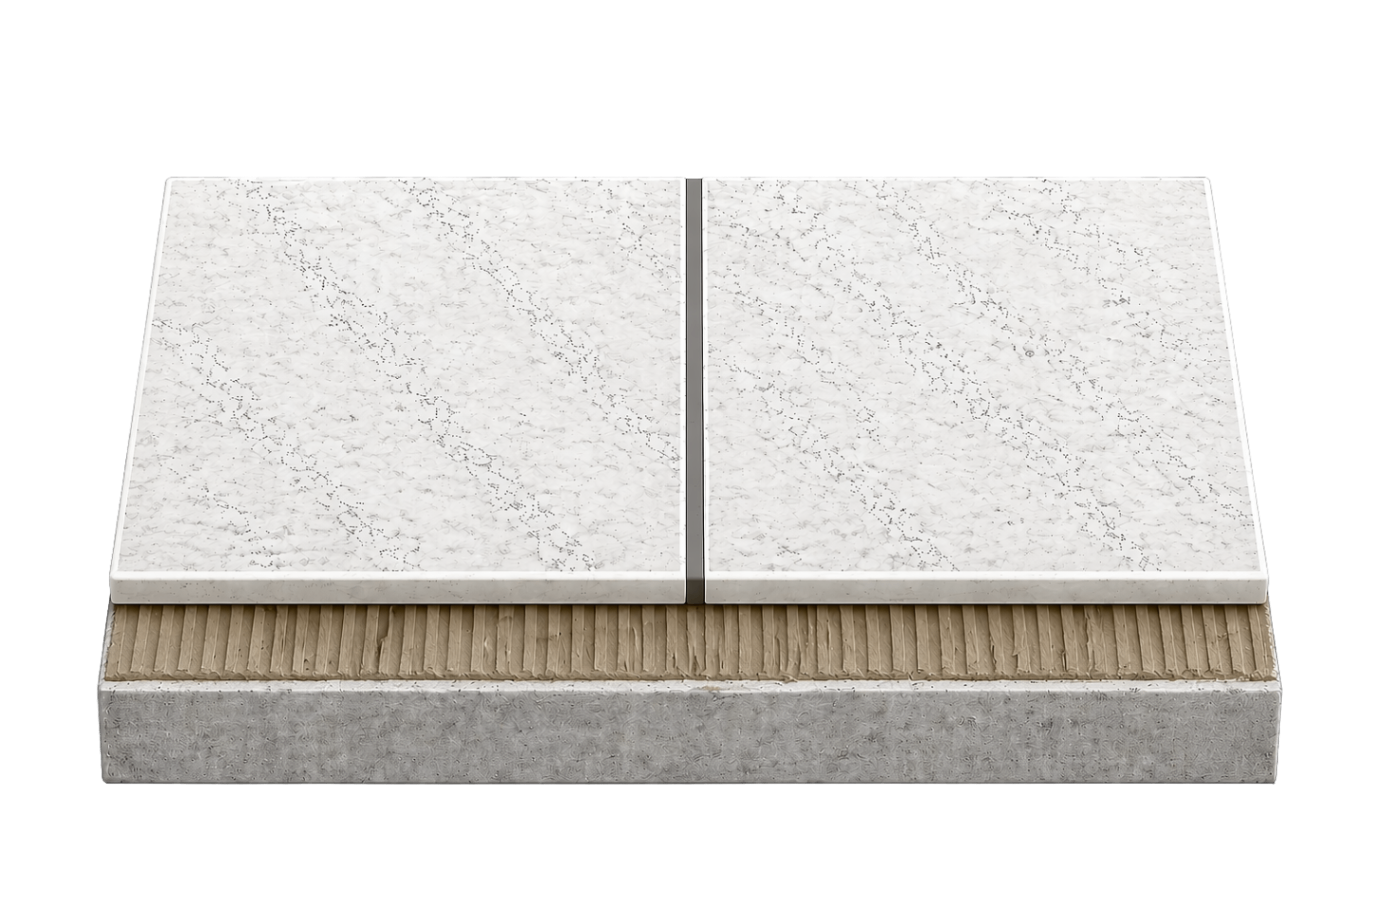
High-performance, two components, water impervious, chemicals and stain resistance, coloured reaction resin grout. Suitable for grouting and pointing joint up to 12mm wide.
EZI EPOXY GROUT
designed for hygienic environments requiring superior cleanliness and durability.
Usages
Suitable to use for grouting or pointing joints between ceramic tiles, natural stones, and mosaic tiles.
grouting or pointing joints between ceramic tiles, natural stones, and mosaic tiles
grouting or pointing joints up to 12 mm.
internal and external, wall and door, dry and wet areas including water immersion areas
Key Performance
Good Compressive
Minimised Efflorescence
Good Flexibility
Good Durability
High Flexibility
Aestbetic Appearance
User Friendly
Good Workability
High Shrinkage Resistance
Good Abrasion Resistance
Usages
Suitable to use for grouting or pointing joints between ceramic tiles, natural stones, and mosaic tiles.
grouting or pointing joints between ceramic tiles, natural stones, and mosaic tiles
grouting or pointing joints up to 5 mm.
internal and external, wall and door, dry and wet areas including water immersion areas
Colour
345
White
346
Grey
349
Black
Product Information
Application Area
Wall, Floor, Interior, Exterior, Dry, Wet
Mixing Ratio
Approximate 3 pbw Filler (Part A) to 1 pbw. Liquid (Part B)
Plot Life
Approximate 40 minutes
Setting Life
Approximate 24hours
Step 1 - Preparing the joint
Allow the adhesive bed to set at least 24 hours before commencing grouting.
Joints must be dry, flat and free from contamination, e.g dust, grease, laitance, oil, paint, etc.
Step 2 - Preparing the mix
Mix cementitious grout with water or latex admixture until uniform colour and thin creamy paste is achieved (in accordance to recommended mixture ratio).
Step 3 - Spreading the mix
Apply grout with rubber squeegee or float, working the grout back and forth to ensure that joints are fully filled and compacted
Step 4 - Finishing the grout
Clean and remove surplus grout with a clean damp cloth or sponge before it dies out.
Allow grout to set for 24 to 48 hours before subjected to service condition.